Social Media Post Ideas for Paving Companies: What Works, What Doesn’t, and 5 Instructional Posts Customers Love
Summary
Best for: Driveway paving, asphalt repair, sealcoating, line striping, small-to-midsize paving crews
Fastest win: Post one strong before/after + one instructional tip each week
Simple rule: Show the process—people trust what they can see
Paving and driveway sealing are some of the most satisfying “before/after” services on earth—yet many paving companies post the same things over and over (or worse, post nothing). The good news: you don’t need fancy production or daily posts. You need repeatable content types that build trust and make homeowners think: “These guys know what they’re doing.”
This article gives you a simple content playbook: what performs well, what flops, five instructional post ideas customers actually save and share, and a practical guide to filming a timelapse that looks amazing on Facebook.
What content works best for paving companies
Paving is visual, local, and high-trust. The content that wins usually does one of these things: proves quality, explains value, or shows reliability.
High-performing post types
- Before/after with context — Not just “Before/After,” but why it looked bad and what you did to fix it.
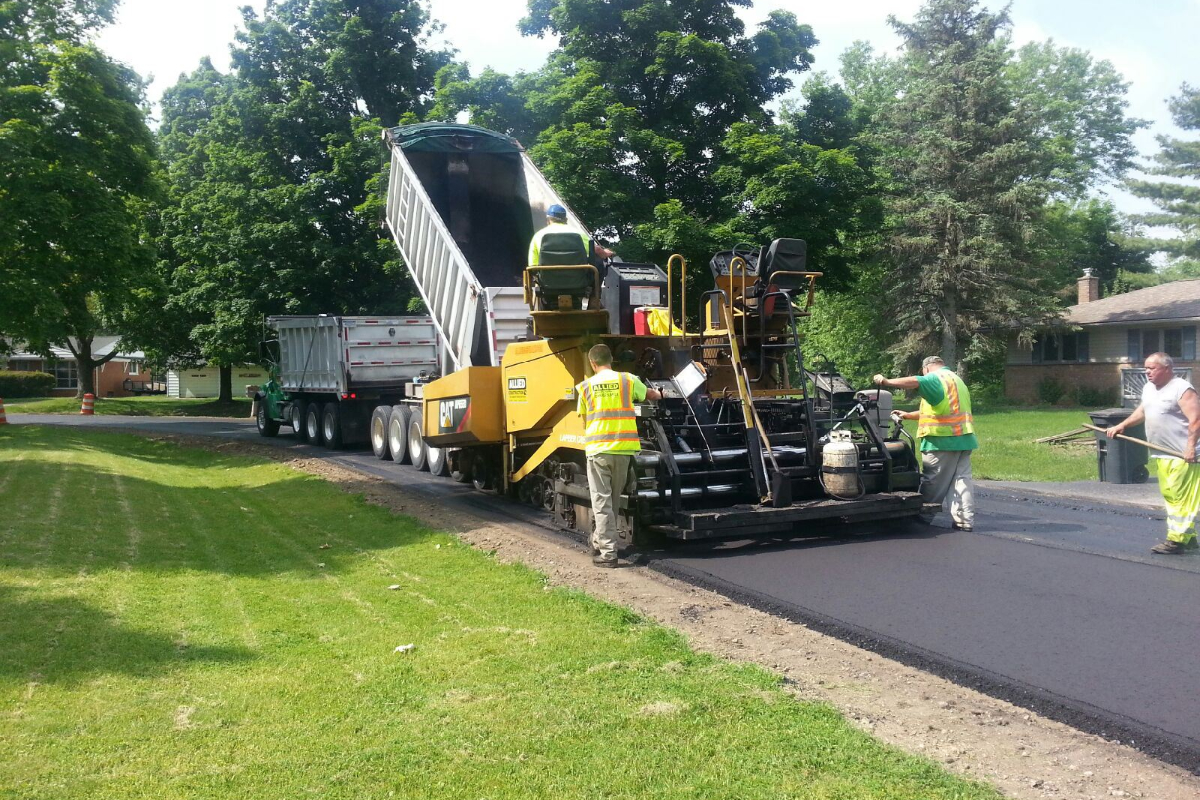
- Process clips — Grading, base prep, edging, rolling, sealing—short clips build confidence fast.
- “What it costs and why” — Homeowners don’t know what drives price. Explain it simply.
- Local proof — “Just finished in [Neighborhood / Town]” + photo + short testimonial (with permission).
- Maintenance education — When to seal, how to prevent cracks, how to avoid standing water.
- Crew pride / reliability — Showing clean equipment, safety practices, and “we show up on time.”
What usually does NOT work (or wastes effort)
These posts are common—but typically underperform unless you already have a huge audience:
| Content type | Why it underperforms | Better alternative |
|---|---|---|
| Generic “We offer paving!” ads | No proof, no hook, feels like spam | Show a specific job + result + neighborhood |
| Stock photos | Looks fake; low trust | Use real phone photos from your crew |
| Random memes | Attention without credibility | Add humor only if tied to a real job/process |
| Too much technical jargon | Confuses homeowners | Explain like you’re talking to a neighbor |
| Posting only when you “remember” | No consistency = no momentum | Simple schedule: 2 posts/week |
If you’re choosing between “funny” and “useful,” pick useful. Trust beats likes.
5 instructional post ideas customers love (and share)
Instructional content makes homeowners feel smarter—and it quietly positions you as the expert. Here are five topics that work especially well for paving:
- 1) “When should you sealcoat a driveway?” — Explain timing (new asphalt cure time, weather, frequency).
- 2) “3 driveway cracks that are ‘normal’ vs. ‘needs repair now’” — Show examples with quick guidance.
- 3) “Why puddles happen (and how proper grading fixes them)” — Use a simple diagram or job photo.
- 4) “Asphalt vs. concrete vs. pavers: which is right for your home?” — Keep it short, homeowner-friendly.
- 5) “How to prepare your driveway for a paving day” — Cars moved, clear edges, kids/pets, access.
Each of these can be a single post, a short video, or a 3-slide carousel.
A step-by-step guide: film a driveway timelapse (Facebook-ready)
Timelapses work because they compress a messy, impressive transformation into something people can’t stop watching. Here’s how to do it with just a phone.
Gear (minimal and cheap)
- A smartphone with decent battery
- A stable tripod (even a $20 one)
- Optional: external battery pack
- Optional: small clamp mount (to attach to a ladder, fence, or truck)
Step 1: choose the right angle
Pick an angle that shows the transformation clearly:
- Aim for a wide view: driveway + curb + garage if possible
- Put the camera high and off to the side, not in the middle of the work area
- Avoid pointing directly into the sun (glare kills timelapse quality)
- Keep it safe: no trip hazards, no chance of being hit by equipment
Good placements: - On a tripod near a corner of the property - Clamped to a ladder or fence post - Mounted inside a truck windshield (only if it won’t shake)
Step 2: lock your framing (don’t touch it)
Consistency is everything. Once you start recording, don’t adjust the camera.
Tips: - Use landscape orientation for Facebook and YouTube - Make sure the horizon is level - Clean the lens (seriously—it matters)
Step 3: pick timelapse settings that look “interesting”
You have two easy options:
Option A: use your phone’s built-in Timelapse mode
- iPhone Camera app → Time-Lapse
- Many Android camera apps include a timelapse mode too
This is the easiest. The phone decides the interval automatically based on how long you record.
Option B: use a timelapse app with manual interval (recommended)
Use any timelapse app that supports: - Interval capture (every X seconds) - Exposure lock - Battery/space estimates
Suggested intervals for driveway work:
| Scene | Interval | Why |
|---|---|---|
| Full driveway paving (2–6 hours) | 2–5 seconds | Smooth motion, satisfying progress |
| Sealcoating (30–90 minutes) | 1–2 seconds | Faster action, looks “busy” |
| Line striping / detail work | 0.5–1 second | Captures precision and pace |
| Big equipment rolling | 2–3 seconds | Keeps it dramatic without being jittery |
Rule of thumb: if it feels “slow,” shorten the interval.
Step 4: lock exposure and focus (prevents flicker)
Flicker happens when the camera auto-adjusts brightness.
Do this: - Tap and hold to lock focus/exposure on iPhone (AE/AF Lock) - On Android, look for exposure lock or pro mode - Keep the sky out of the frame if possible (changing clouds = brightness shifts)
Step 5: record longer than you think you need
You can always trim. Timelapse clips that perform well are usually: - 8–20 seconds for feed posts - 20–45 seconds for Reels
If your raw capture is too short, the transformation feels underwhelming.
Step 6: edit into a Facebook-friendly post (quick formula)
Your finished video should have: - A quick hook text overlay in the first 1–2 seconds - A short caption that explains what changed - A call-to-action that feels helpful, not pushy
Example on-screen text hooks: - “2 hours in 12 seconds 👀” - “Watch this driveway transformation” - “From cracked to clean + smooth”
Example caption:
> Finished a full driveway refresh in [Town/Neighborhood].
> Proper base prep + grading makes a huge difference for drainage and longevity.
> Want an estimate? Message us with a photo and your address.
A simple weekly posting plan (that doesn’t burn you out)
You don’t need to be an influencer. You need consistency.
- 1 before/after (photo or short video)
- 1 instructional post (one of the 5 topics above)
- Optional: 1 behind-the-scenes clip (crew, equipment, rolling, edging)
That’s it. Two posts/week is enough to build momentum.
Final Recommendation
Show paving prospects the prep, process, and proof behind a better surface.
Start simple:
- Step 1Post the steps customers rarely see but should value
- Step 2Use before/after visuals with plain explanations
- Step 3Turn good project photos into postcard proof for nearby homes
Share your business type and target area, and we can suggest a focused next campaign.
Explore Neighborhood Postcards